MP3 is a common choice for sound-only playback. Keep your WMA originals while you check the converted files.
Three Steps to Your Output
Add the WMA Files
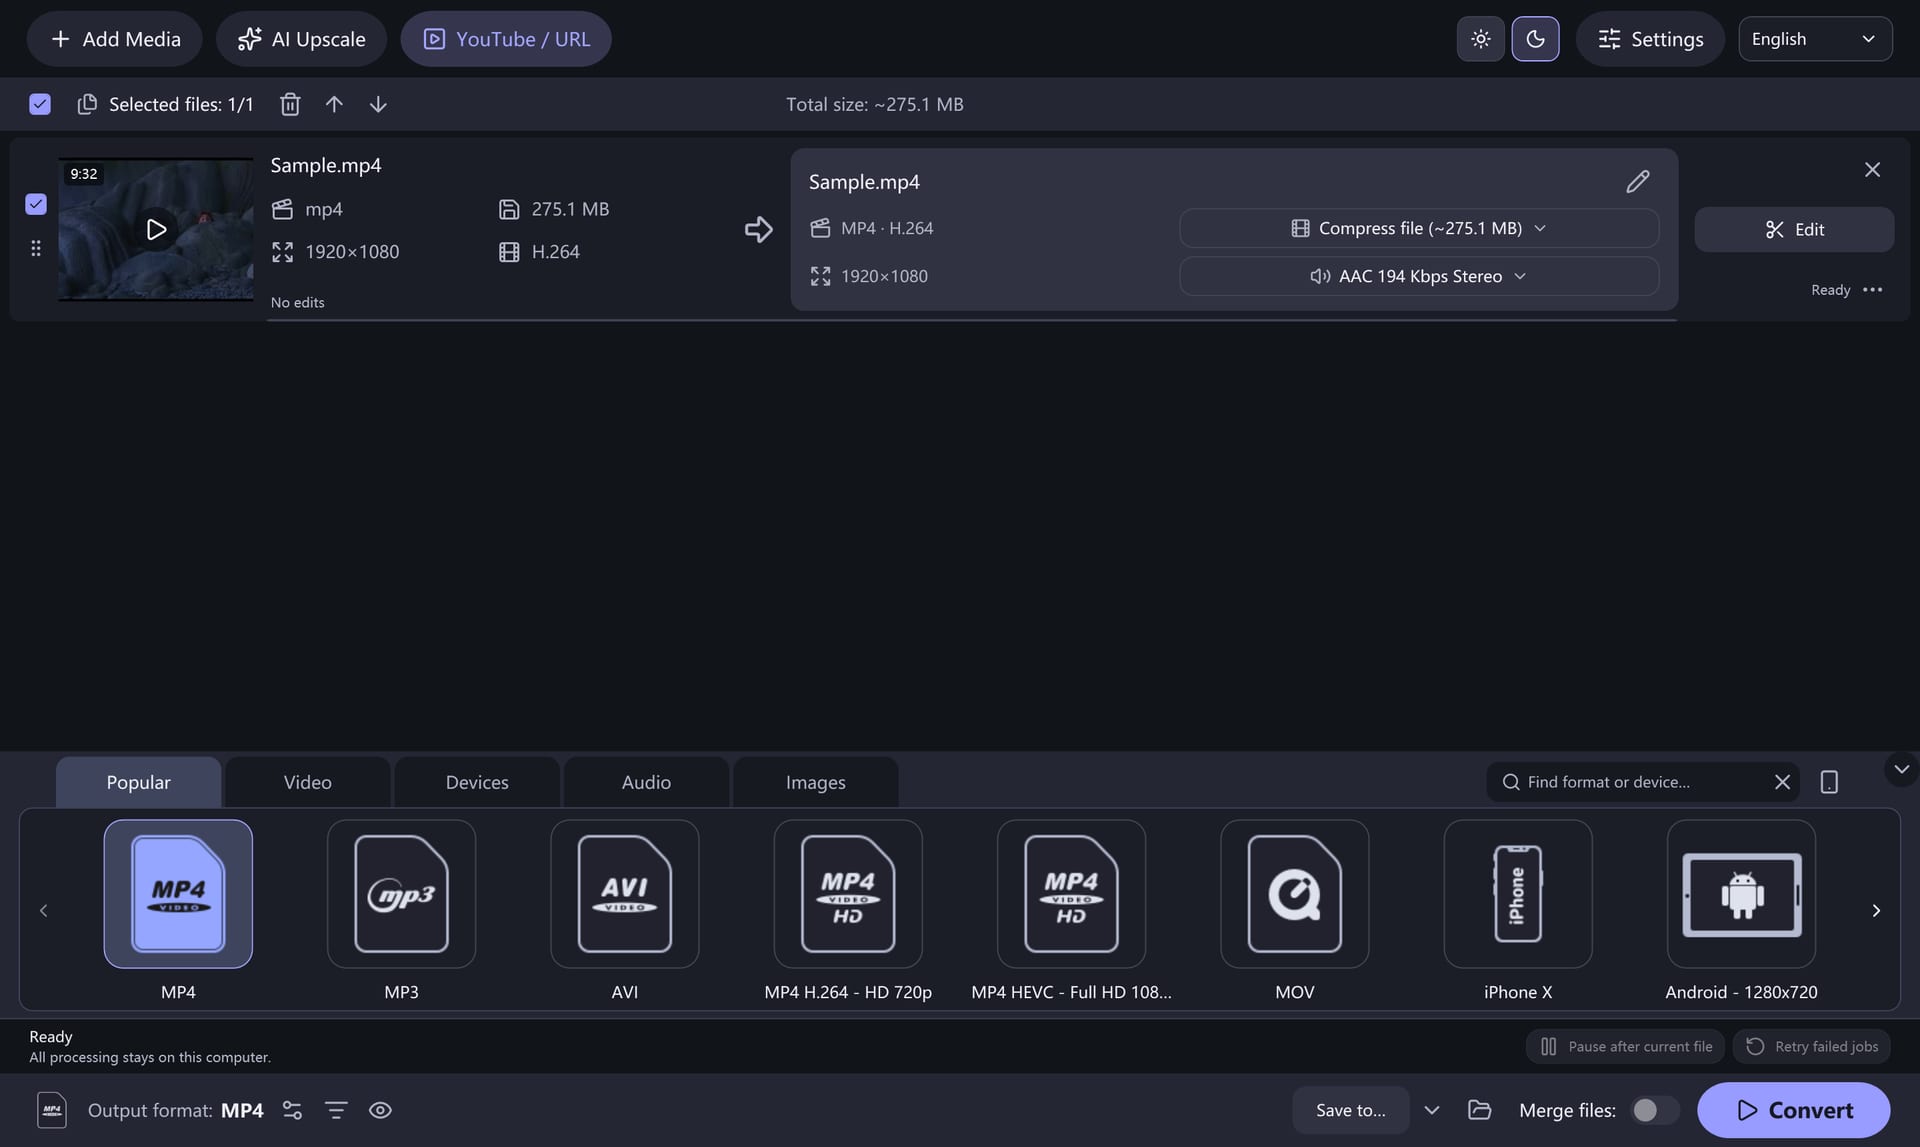
Select Add Media and choose your local WMA sources. Check the queue so that you export the files you intend to keep.
Set MP3 Output
Choose MP3 from the Audio category and review the bitrate and sample-rate settings. Avoid choosing a quality level higher than you need.
Convert to a Separate Folder
Choose Save to, then Convert. Play the new MP3 files and check their duration, audio and metadata.
Protected Sources
Rights-protected or damaged files may not be readable. This workflow does not remove DRM or bypass access controls. Use a readable source you are authorized to convert.
Earlier Version Reference
Read the Original Tutorial & Screenshots
Archived instructions from the earlier application. The interface, device lists and performance claims refer to that historical version, not the current 8.2.0 build.
Introduction
Windows Media Audio (WMA) and MP3 are audio formats at different bit rates that allow listeners to enjoy music files online and offline. These formats let you compress music into less bulky files that retain the original sound quality. Free CUDA Movie Converter is available to convert amount of WMA files to MP3 with high-lightning conversion speed and top audio quality.
Download the Free CUDA Movie Converter through the link below and save the file to your desktop:
Download Free CUDA Movie Converter
Step 1. Input Audio
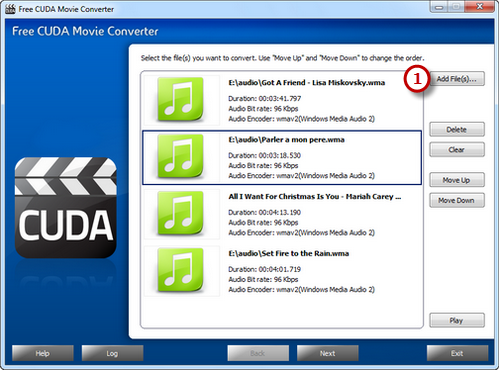
Launch Free CUDA Movie Converter. Click "Add File(s)..."
 to input WMA audio files from your computer to the task list.
Use the "Delete" button or "Clear"
button to remove the unwanted files. Click "Move Up"
or "Move Down" button or by dragging the listed
files to queue the added audio files to meet your demands. You
can also click "Play" button to play the selected
file with the media player in your system.
Step 2. Preset Output Settings
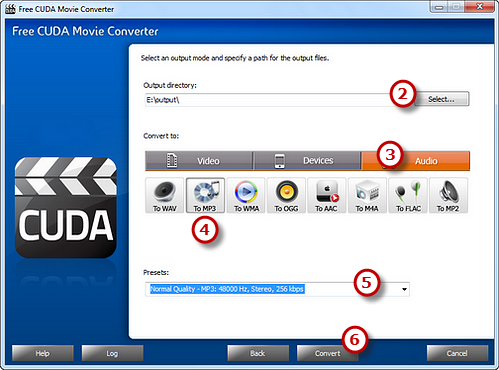
Click "Select..."
 to choose an output folder from your computer to save the output
files. Click "Audio" tab
 to choose "To MP3"
 as an output format you need (there are 3 tabs for output formats:
"Video", "Devices" & "Audio" and each tab contains various
output formats). Then, adjust the output quality with the customized
presets for every format in the "Presets"
 dropdown list. Click "Convert"
 to start conversion.
Step 3. Start Conversion
After you hit "Convert", some conversion information and a progress bar will be displayed within just few seconds, like the duration, status and progress of the conversion. The post-process options can be chose to play a sound or shutdown the computer when the conversion is finished.
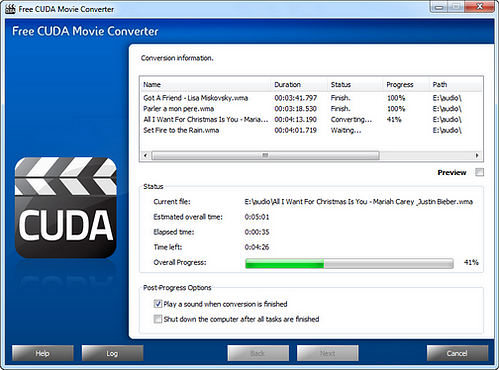
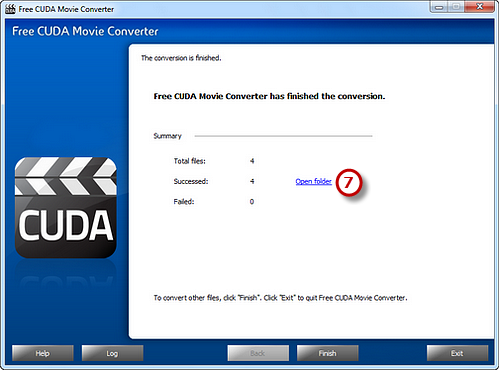
When the conversion is finished, you can have a view of the
general report about the conversion. Click "Open folder"
 to directly open the output folder to get the converted audio
files.
If your question has still not been answered then please submit your query to us and we will contact you as soon as possible.